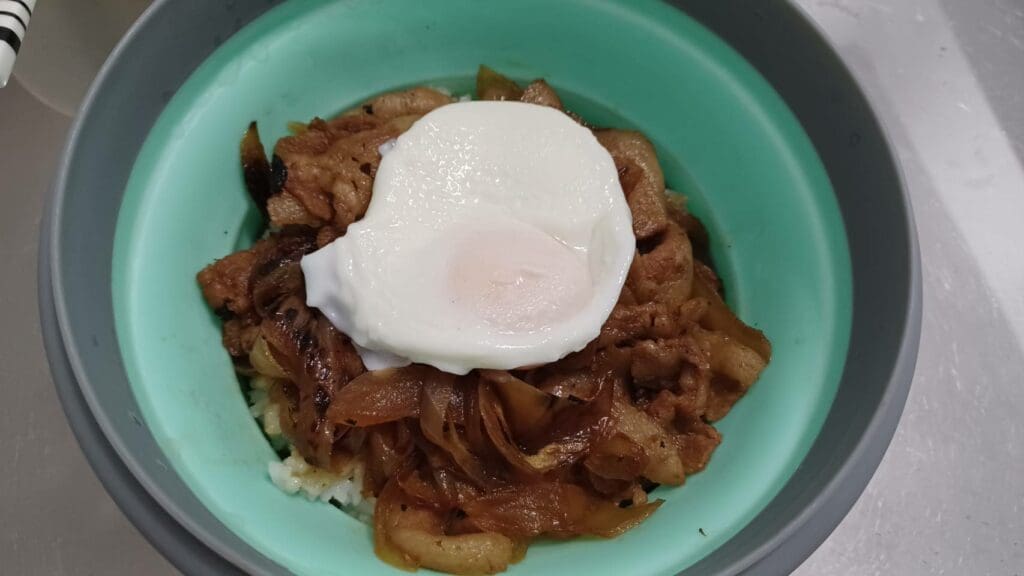
Super Easy Yakiniku Pork Rice Bowl — On the Table in Under 30 Minutes!
Intro
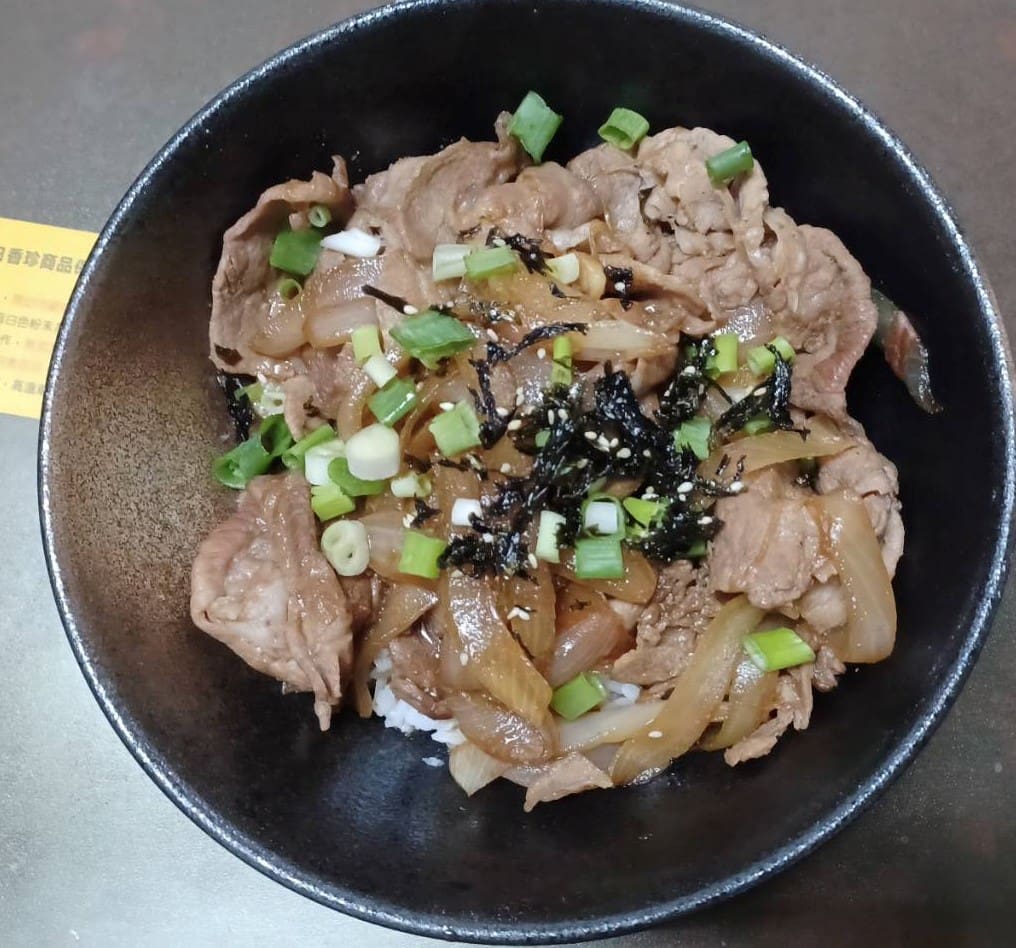
Meow meow everyone, it’s me, Mydondon! It’s been a while since I cooked up something tasty, and lately I’ve been really into making a Tsukimi pork rice bowl (yakiniku don) — and honestly it turns out way more delicious than I expected! How could I keep something this good to myself and not share it with all of you? So let’s get started~
Today I’m going to show you how to make a Tsukimi pork rice bowl topped with a poached egg. In theory this is a one-pot recipe! But I’d still recommend starting on the poached egg right when the rice bowl is almost done — otherwise by the time your egg is ready, your rice bowl will already have gone cold.
What you’ll need
Equipment:
- Frying pan #1: for the onions and pork
- Frying pan #2 (you can swap in another pot — a shallower one is recommended): for the poached egg
- Small bowl: to hold the raw egg, then the finished poached egg
- Small mixing bowl: for the sauce
- Small plate: to set aside the cooked onions
- Ladle: for scooping out the poached egg and the sauce
Ingredients (the amounts below are for 1 serving — if you’re cooking for more people, remember to multiply accordingly):
- Pork (pork belly, loin, or bacon): 150 g
- Medium onion: half an onion
- Cooked white rice: 1 bowl
- Egg: 1
- Scallion (optional): half a stalk each of the white and green parts
- Cooking oil: as needed
Sauce:
- Low-sodium soy sauce: 30 g
- Mirin: 30 g
- Rice wine: 30 g
Note 1: No mirin? You can substitute 30 g of rice wine plus 8 g of any sugar (the rice wine to sugar ratio is roughly 4:1).
Note 2: No low-sodium soy sauce? You can substitute 15 g of water plus 10 g of regular soy sauce (the water to soy sauce ratio is roughly 3:2).
Note 2: The sauce formula is really just 1:1:1 — feel free to scale it up or down depending on how much sauce you want.
Full steps
The pork:
- Put the rice on to cook in the rice cooker.
- Pour the sauce ingredients into the small mixing bowl and stir until evenly combined.
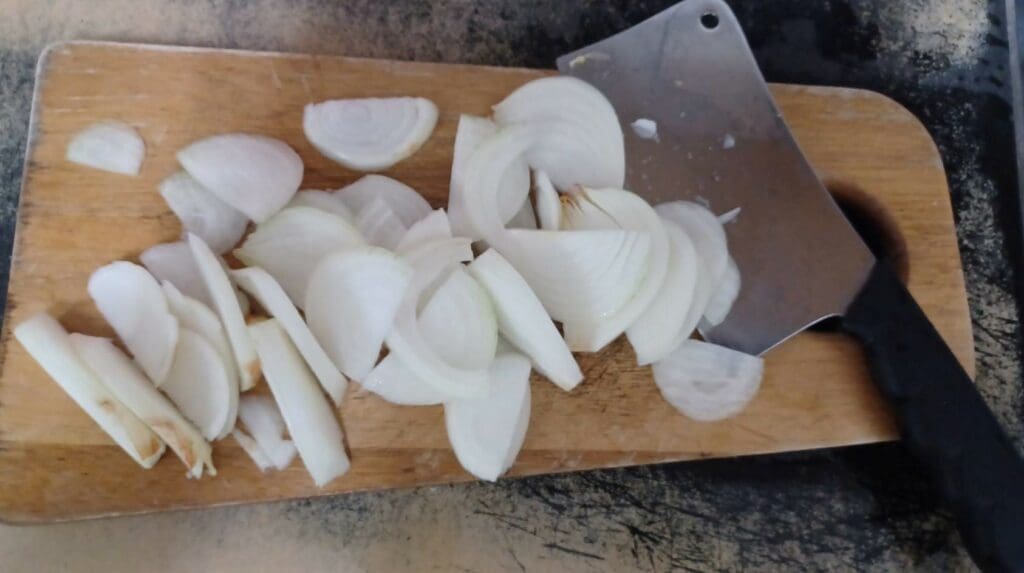
- Slice the half onion into strips about 0.5 cm wide.
- Chop the scallion.
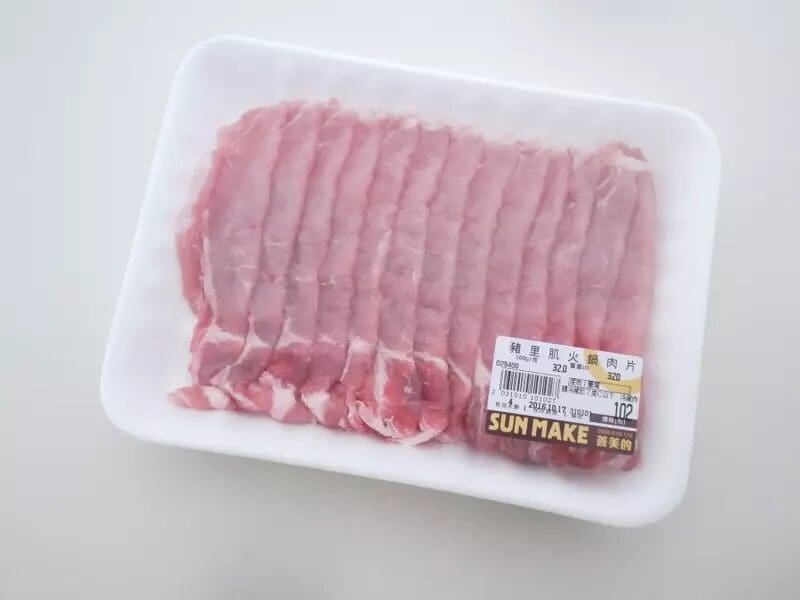
- Thaw the 150 g of pork and cut it in half. I’m using this loin from PX Mart — each piece is usually a good 10-plus centimeters long, and if you don’t cut it, it’s too long and awkward to eat, so I always halve it. But if your pork is already short, you can leave it as is — too big or too small both make for an awkward bite.
- Turn on the gas to medium heat, set the frying pan down, pour in the cooking oil, and wait about 30 seconds for it to heat up (this part you’ll have to judge by feel).
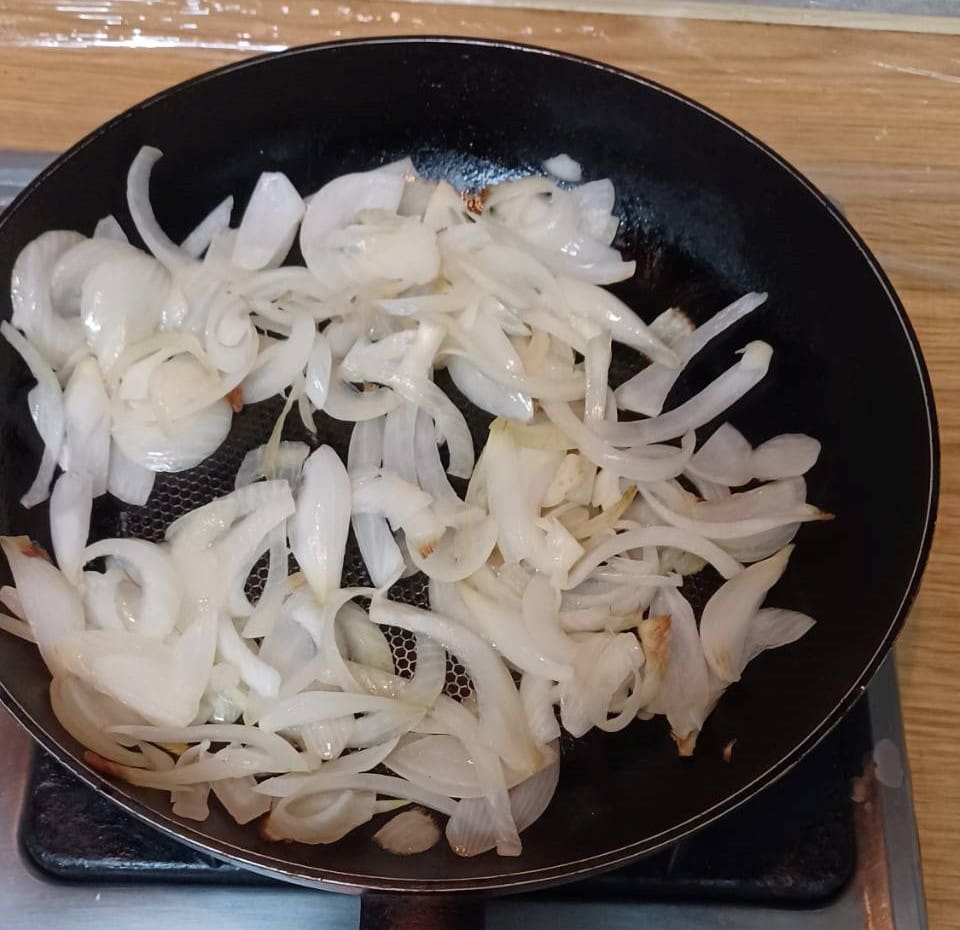
- Add the onion strips and stir occasionally until they turn translucent and are just about to start browning, then scoop them out onto the small plate and set aside.
- Add the pork and make sure each piece heats evenly; once one side is done (it changes color), flip it. Be careful not to overcook the pork or it’ll end up tough. Once both sides have changed color, pour in the sauce and the onions.
- Turn the heat up to medium-high to bring the sauce to a boil; once it’s bubbling, wait another 2 minutes and then you can turn off the heat.
The poached egg:
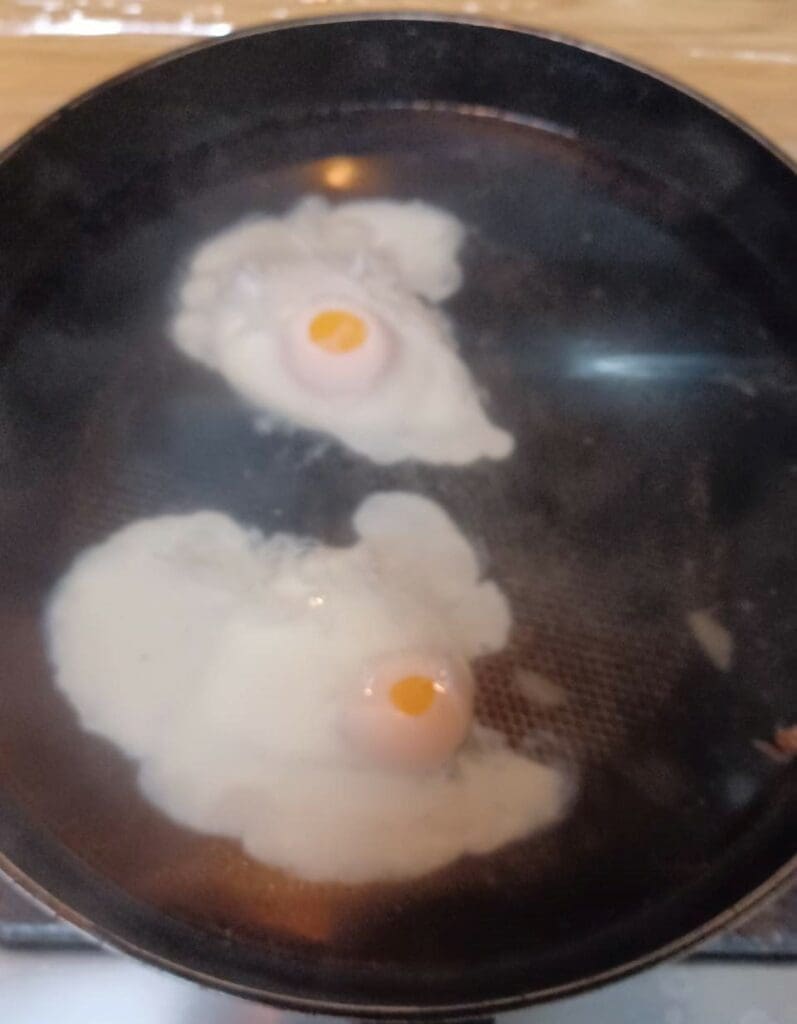
You can start on the poached egg around step 7. My poached egg is the simple version — when you scoop it out there’ll be a little bit of loose, runny egg white, which you can trim away with the ladle just before lifting it out.
- Wash the egg and crack it into the small bowl.
- Fill the other frying pan with water and heat it over high heat. The water needs to be deep enough to cover the egg — about 4 cm deep is plenty.
- Once the water boils, turn off the heat first, then slowly slide the egg into the water, keeping the small bowl as close to the water’s surface as possible.
- Cover with the lid and let it sit for 3 minutes; if you don’t have a lid, let it sit for 4.5 minutes.
- Go wash the small bowl, then gently scoop out the poached egg with the ladle, tilting it side to side to drain off the excess water. Tip the egg into the small bowl.
Assembly:
- Grab the plate you used for the sautéed onions.
- Pack a small bowl full of rice, then flip it upside down onto the plate to turn it out.
- Drizzle on some of the yakiniku sauce, then use chopsticks to lay the pork and onions onto the plate.
- Drizzle on a little more sauce (I don’t recommend pouring it all on — it’ll be way too salty).
- Sprinkle on the chopped scallion.
- Top it with the poached egg.
- Dig in and enjoy!