My First Time Making Red Sauce: Turn Leftover Tomatoes Into a Delicious Pasta Sauce
Intro
Meow meow, hi everyone and welcome back! Honestly, I’ve always loved cooking up all sorts of things, from desserts to main dishes, and red sauce pasta in particular is a dish that shows up at our place pretty often. So today let’s make some red sauce together!
This recipe is based on this video from Chris’s Table (most of the steps are the same as the article, the only differences are a few little details): https://youtu.be/pVKkZs215aE?si=SAbqRD9pieRxeOLA
The red sauce I made starts from whole tomatoes. Whenever tomatoes are cheap, that’s your moment to grab a batch, make a big batch of sauce, freeze it, and slowly eat your way through it later. That’s the most budget-friendly approach. My batch of tomatoes was on the small side, but each one only cost me about NT$2 to 3. Total bargain!
What you’ll need before making red sauce
For the ingredients you’ll want:
- Medium tomatoes: 12 to 15
- About half a carrot
- One medium or large onion
- 8 to 10 cloves of garlic
- 150 to 200g of unsalted butter
- Italian herbs, sugar, and salt (for seasoning)
P.S. You can also throw in all kinds of tomato products, like sun-dried tomatoes, canned tomatoes, cherry tomatoes, ketchup, or tomato paste. Anything goes.
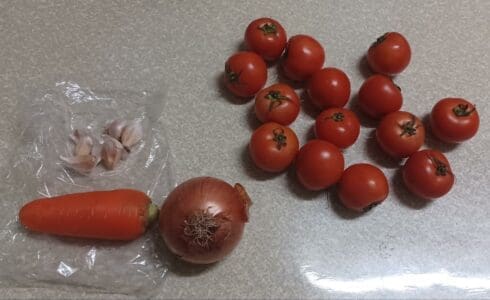
The steps
- Right at the very beginning, you need to peel the tomatoes. First wash them, remove the stems, then score a cross into the top with the tip of a knife. I usually fill a pot with water right after washing the tomatoes, so it can be heating up while I’m removing the stems and scoring the crosses. That saves a bit of time, and by the time I’m done scoring, the water’s boiling and ready to drop them in.
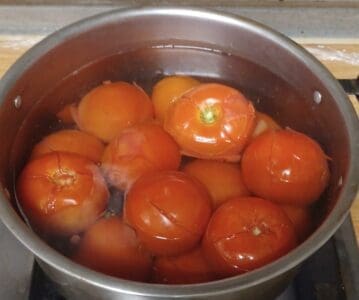
This step is mainly to get rid of that tough, not-so-tasty skin. How long do you boil them? In my experience, about 2 to 3 minutes and you can scoop them out, though eyeballing it is more reliable. As soon as the skin looks loose and ready to start peeling itself off, you’re good to go!
2. Next, take them straight out and start rinsing them under cold water. If you want to be extra careful, you can add some ice cubes to stop the tomatoes from cooking any further, but basically, once they’ve cooled down enough that you’re not afraid of burning yourself, you can start peeling off the skins.
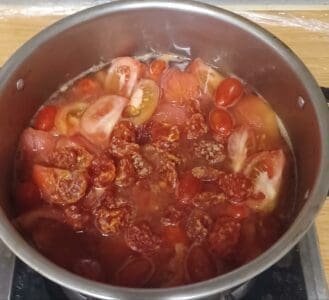
3. After that, slice up each tomato. Point the stem end up and cut from the top down. About 4 to 6 small pieces per tomato is plenty. The smaller you cut them, the more surface area gets exposed to heat and the easier they break down, but you’ll also lose a lot of tomato juice while cutting. Once they’re cut, add a bit of water and bring it to a simmer over medium or low heat. For the water, just enough to cover about half the surface of the tomatoes is fine. As it cooks, you can keep an eye on it and check whether it’s reaching the thickness you want.
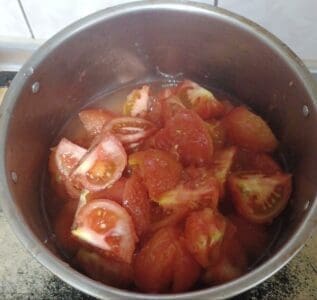
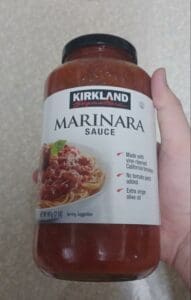
At this stage of cooking the big tomatoes, I also threw in some cherry tomatoes, the tomato paste I bought at Costco a while back, and some sun-dried tomatoes. You can add whatever tomato products you like at this step too.
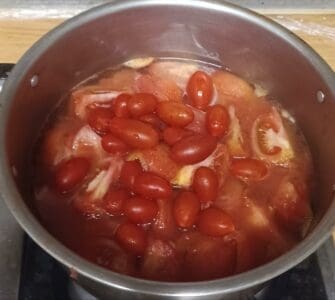
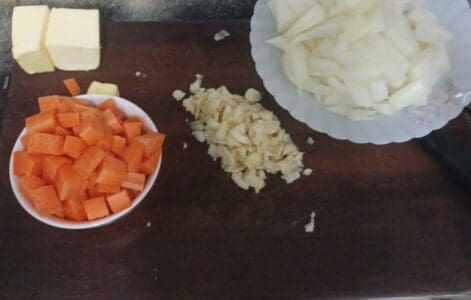
4. While the tomatoes are cooking, you can start on the other ingredients. First, dice the carrot and onion, and smash and peel the garlic. It looks like this. Ah, because the onion made my eyes sting so badly, I ended up cutting both the carrot and the garlic with my eyes closed, so it looks a little ugly (ʘᴗʘ✿).
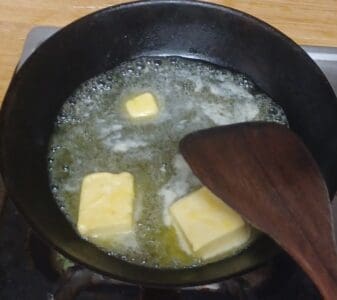
5. Now it’s time to fry these ingredients. Start by melting the unsalted butter over medium-high heat, and once it starts to bubble, turn the heat down to low and fry the garlic first. Once the garlic turns slightly golden, you can add the carrot and onion. Usually you’d add the carrot first since it takes longer to cook through, but I have no idea what I was thinking that day, I dropped the onion in first.
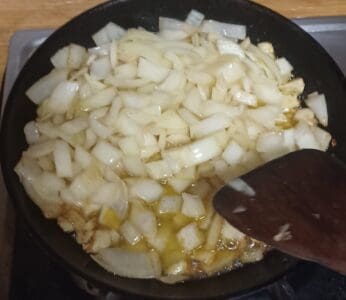
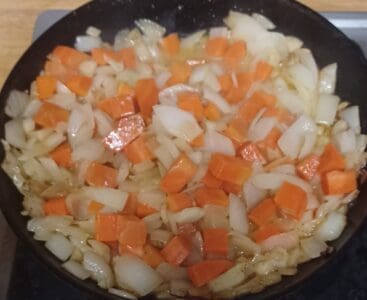
6. Once you’ve finished frying all the ingredients, you can tip everything from the frying pan into the pot of tomatoes. After that, I let it cook for about 20 to 30 minutes. You’re done once a tomato squashes flat the moment you press it down with a ladle!
7. Next is the part where you blend everything into a smooth red sauce. I used an immersion blender, but if you don’t have one, a regular blender works too. Just be careful when pouring, or you’ll burn yourself easily.
I also added three slices of cheese to give the red sauce a bit of cheesy aroma.
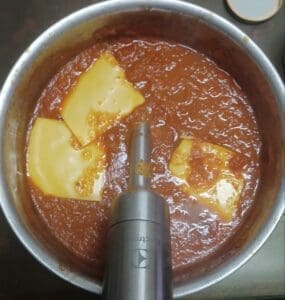
Oops, while blending I realized there was too much liquid. Next time I cook it, I’ll add a little less water.
And that’s your red sauce done! Once it’s cooled, you can also portion it into bags and freeze it, where it’ll keep for about 2 to 3 months.
Alright, thanks for reading today! If you enjoyed this post, feel free to hit like and save it. If you’d like to see more posts in the future, you can hit follow too. There are a few posts below you might enjoy, so go take a look! See you next time~